Introduction
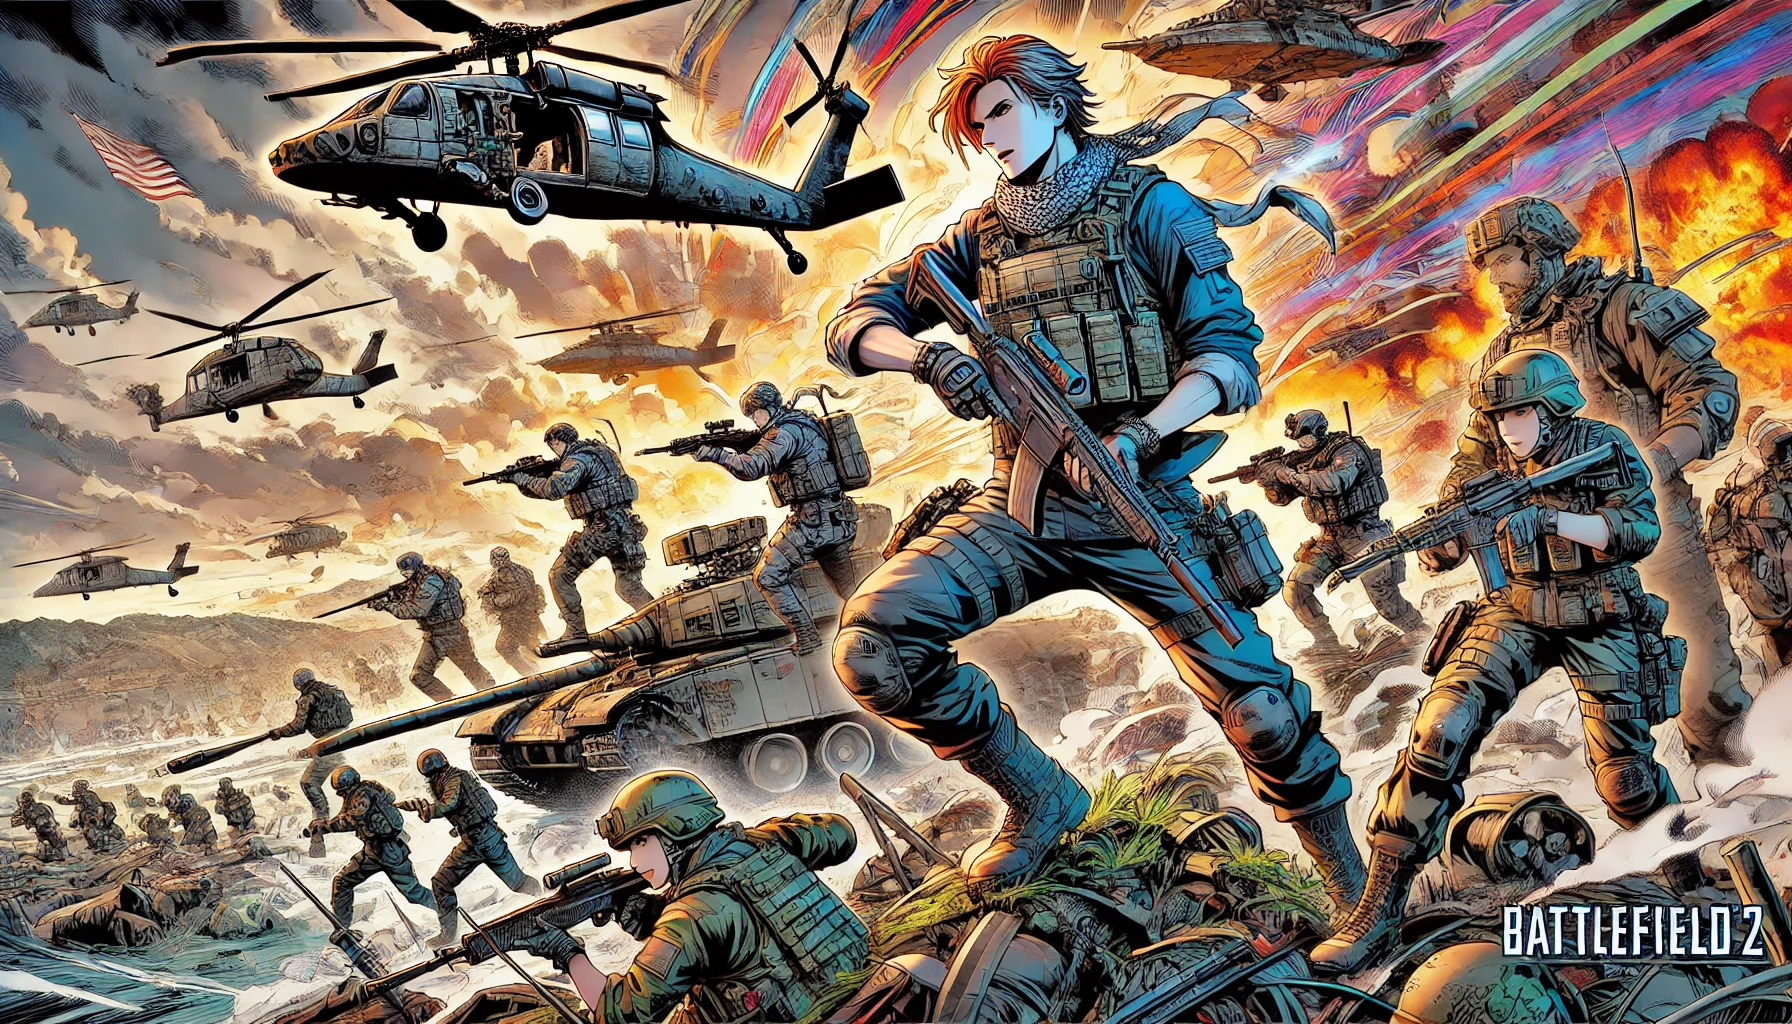
Hosting a game server for the first time is an exhilarating journey filled with excitement, learning curves, and a sense of community. My first experience with hosting a Battlefield 2 server was nothing short of an adventure. This article will take you through the entire process, from initial setup to managing a bustling gaming community, highlighting the challenges and triumphs along the way.
The Decision to Host a Battlefield 2 Server
The idea of hosting a Battlefield 2 server came from a desire to create a personalized gaming environment. I wanted to control the game settings, map rotations, and create a space where friends and like-minded gamers could enjoy customized matches.
Preparing for the Setup
Before diving into the technicalities, preparation was key. Researching server requirements, understanding the game’s needs, and gathering the necessary resources set the stage for a smooth setup.
Research and Planning
- Understanding Server Requirements: Ensuring my hardware could handle the server load.
- Gathering Resources: Finding guides and forums dedicated to Battlefield 2 server hosting.
- Software Essentials: Downloading server software and necessary patches.
Choosing the Right Hardware
Choosing the appropriate hardware was crucial. I needed a powerful processor, sufficient RAM, and a stable internet connection to ensure smooth gameplay and low latency.
Internet Connection Considerations
A stable and high-speed internet connection was vital. Understanding bandwidth needs and ensuring my ISP could support the server’s demands helped prevent future connectivity issues.
Setting Up the Server

Setting up the server involved installing the server software, configuring settings, and launching the server for the first time.
Installing the Server Software
- Downloading: Obtaining the official Battlefield 2 server software.
- Installation: Following a step-by-step process to install the software on my machine.
- Patching: Applying necessary patches to ensure compatibility and stability.
Configuring Server Settings
Configuring the server settings was both exciting and challenging. From setting up map rotations to defining game modes, every detail needed attention.
Map Rotations and Game Modes
- Customizing Map Rotations: Choosing favorite maps and setting up the rotation order.
- Defining Game Modes: Selecting game modes that would appeal to players, such as Conquest or Capture the Flag.
Launching the Server
The moment of truth arrived with the first server launch. Seeing the server go live and appear on the game’s server list was incredibly satisfying.
Managing the Server
Running a game server isn’t just about the initial setup. Continuous management and maintenance are necessary to ensure a great gaming experience.
Monitoring Performance
Keeping an eye on server performance helped in identifying and resolving issues quickly.
Tools and Techniques
- Performance Monitoring Tools: Using software to monitor CPU, RAM, and network usage.
- Log Files: Regularly checking log files for errors or unusual activity.
Handling Players and Community Building
Building a community around the server was one of the most rewarding aspects. Engaging with players, organizing events, and creating a welcoming atmosphere helped in retaining players.
Player Interaction
- Feedback and Suggestions: Encouraging players to provide feedback and suggestions for improvement.
- Community Events: Organizing special events and tournaments to keep the community engaged.
Dealing with Challenges
Hosting a game server comes with its fair share of challenges. From technical issues to managing player behavior, each challenge provided a learning opportunity.
Technical Issues
- Troubleshooting Crashes: Identifying causes of server crashes and applying fixes.
- Connectivity Problems: Resolving issues related to internet connectivity and player lag.
Player Management
- Moderation: Implementing rules and moderating player behavior to maintain a friendly environment.
- Handling Cheaters: Dealing with cheaters and ensuring fair play for all participants.
The Joy of Hosting a Game Server
Despite the challenges, hosting a Battlefield 2 server was an immensely rewarding experience. The joy of creating a space for gamers to come together and enjoy their favorite game was unparalleled.
Building Friendships
The server became a hub for building friendships and connecting with gamers from around the world.
Learning and Growth
Every challenge faced and overcome contributed to personal growth and a deeper understanding of game server management.
FAQs
What are the basic requirements for hosting a Battlefield 2 server? A powerful processor, at least 4GB of RAM, and a stable internet connection with sufficient bandwidth are essential.
How do I handle server crashes? Regularly monitor performance, check log files for errors, and apply necessary patches or updates to prevent crashes.
How can I attract more players to my server? Engage with the gaming community, organize events, and ensure a smooth and enjoyable gaming experience to attract and retain players.
What are the common issues faced while hosting a game server? Technical issues like crashes, connectivity problems, and player management challenges such as dealing with cheaters and moderating behavior are common.
Is it necessary to have technical knowledge to host a server? Basic technical knowledge is helpful, but many resources and guides are available to assist beginners in setting up and managing a game server.
Can I make money from hosting a game server? While hosting a server is primarily for fun and community building, some server owners monetize through donations, sponsorships, or premium memberships.
Conclusion
Hosting a Battlefield 2 server for the first time was an unforgettable experience. It was a journey filled with learning, community building, and countless moments of joy. Whether you are a seasoned gamer or new to the world of game server hosting, the experience is sure to be rewarding and enriching.
